# การเขียนโปรแกรม Arduino
# เนื้อหาเรียน
1. ทำความรู้จักกับ Arduino Board
2. ติดตั้ง Arduino IDE บน windows , Linux
3. ทำการ Config ค่าต่างๆ ก่อนการ เขียนโปรแกรม
4. เรียนรู้ส่วนประกอบและรูปแบบการเขียนโปรแกรม Arduino
# Structure
- structure
- setup()
- loop()
- functions
- {}curly brace
- ; semicolon
- /*....*/ block comment
- //line comment
# variables
- variable
- variable declaration
- variable scope
# datatypes
- byte
- int
- long
- float
- arrays
# arithmetic
- arithetic
- compound assignment
- comparison operators
- logical operators
# constants
- constants
- true/false
- high/low
- input/output
# flow cntrol
- if,if..else,for,while,do..while
# digital i/o
- pinMode(pin,mode)
- digitalRead(pin)
- digitalWrite(pin,value)
# analog i/o
- analogRead(pin)
- analogWrite(pin,value)
# time
- delay(ms)
- millis()
# math
- min(x,y)
- max(x,y)
# random
- randomSeed(seed)5
-random(min,max)
# serial
- serial.begin(rate)
- serial.print(data)
# appendix
- digital output
- digital input
- hide current output
- pwm output
- potentiometer input
- variable resistor input
- servo output
5. ฝึกเขียนโปรแกรมตามเนื้อหาเรียนเริ่มจากทำโปรแกรมแสดงผล เช่น Hello World
6. รู้จักอุปกรณ์อิเล็กทรอนิกส์ที่ Arduino Board สามารถเข้าไปควบคุม แสดงผล และทำงานร่วมกันได้ เช่น
- Arduino Board ควบคุมการแสดงผลหลอด LED
- Arduino Board ควบคุมการแสดงผลของ BUZZER
- Arduino Board ควบคุมการทำงานของ RELAY เป็นต้น
7. การควบคุม Arduino Board โดยสั่งจากหน้าเว็บ
8. ฝึกปฏิบัติ
# สิ่งที่ผู้เรียนต้องมี สำหรับ การเรียน
1. Funduino UNO R3 development board * 1
2. sensor expansion board * 1
3. white LED module * 1
4. red LED module * 1
5. Yellow LED module * 1
6. Green LED module * 1
7. buzzer module * 1
8. LM35 temperature sensor * 1
9. light sensor * 1
10. Sound Sensor * 1
11. rotary potentiometer module * 1
12. button module * 1
13. Ultrasonic Ranging Module * 1
14. XY joystick module * 1
15. 9 g servos * 1
16. 3PIN sensor cable * 5
17. DuPont lines * 20
18. USB cable * 1
# ค่าใช้จ่ายในการเรียนอยู่ที่ 5,000 บาท (พิเศษสุดๆ ราคานี้ รวมชุด Starter แล้ว) เรียนจนกว่าจะเข้าใจ
# สนใจเรียนติดต่อ TEL : 0979359203 (อาจารย์ ปอ)
E-mail : por2008@gmail.com
website ที่่เกี่ยวข้อง
1. https://www.facebook.com/ats2017blog
2.http://www.thai-electronic-house.org
3. http://www.geocities.ws/electronic-house
4.https://sites.google.com/site/thaielectronichouse/home
5. https://sites.google.com/site/korat20139/home
6. https://sites.google.com/site/echkorat
7. http://www.thai-electronic-house.org/mobile
8. http://www.thai-electronic-house.org/smartphone1
9. http://www.thai-electronic-house.org/smartphone2
10. http://www.thai-electronic-house.org/smartphone3
11. http://www.thai-electronic-house.org/smartphone4
12. http://www.geocities.ws/ech2017
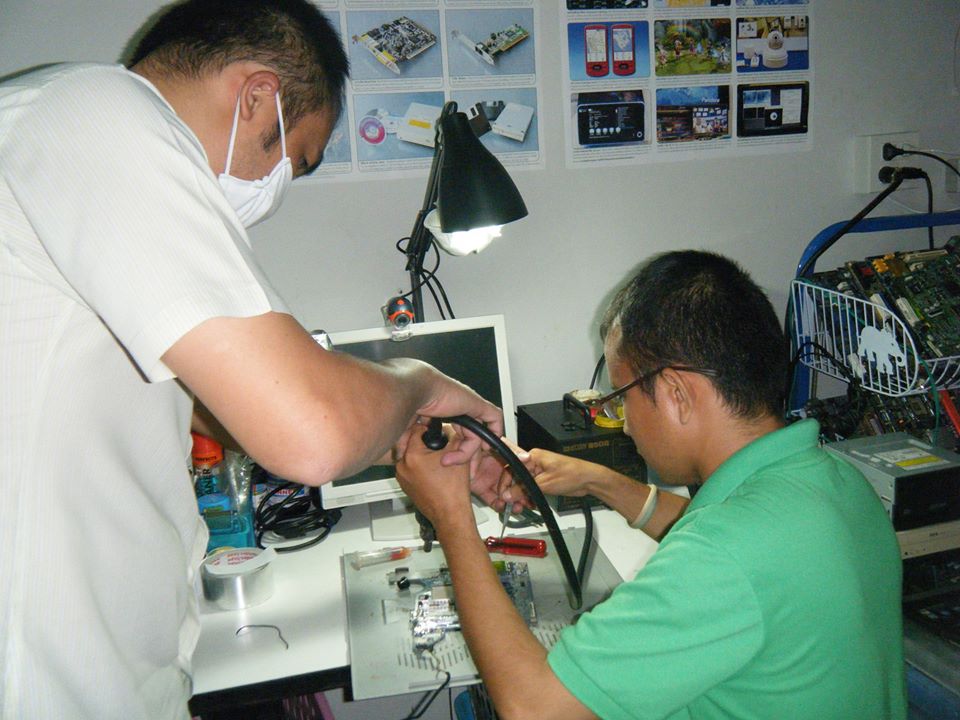
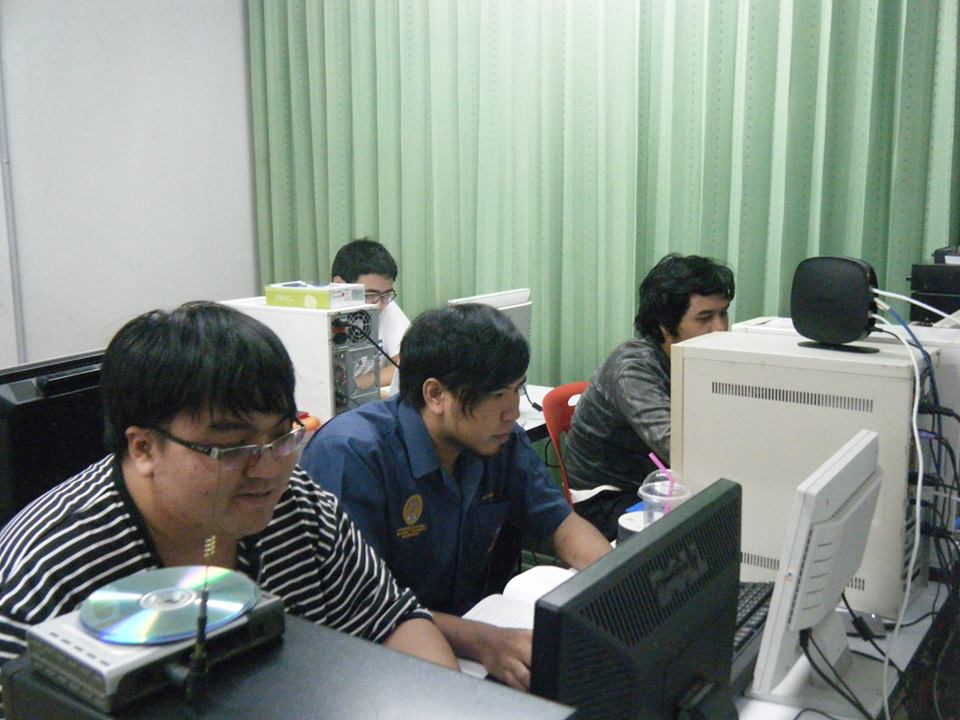
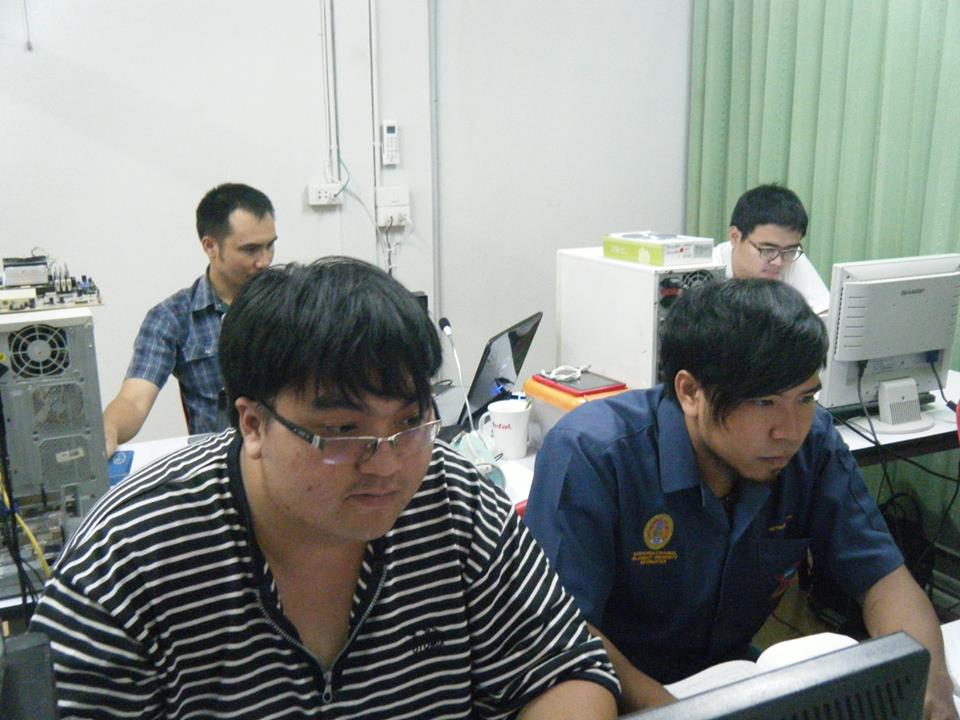
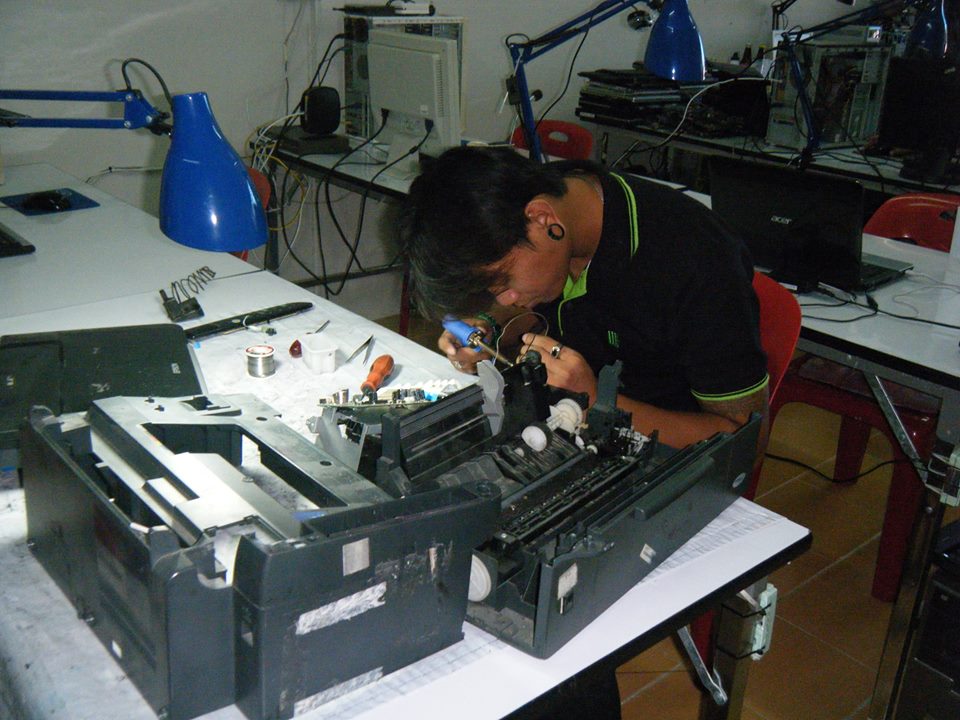
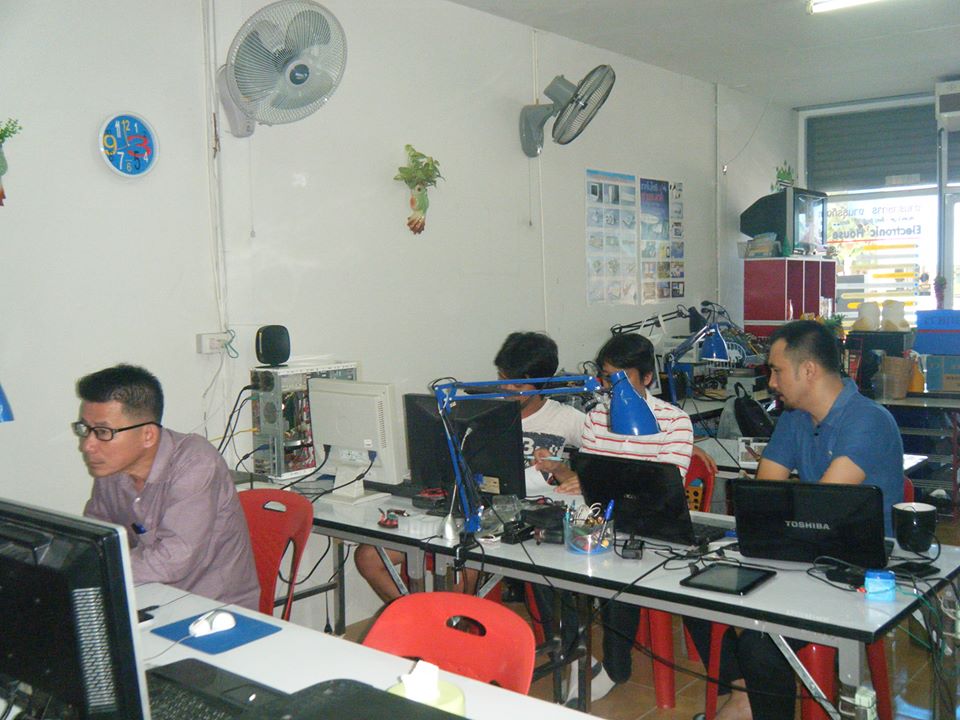
กิจกรรมการฝึกอบรม
-
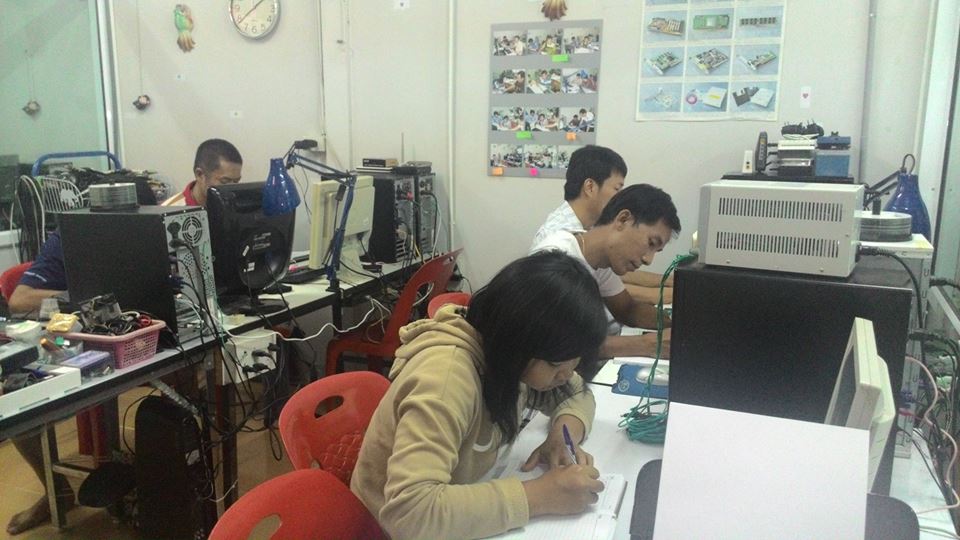
คอมพิวเตอร์มันต้องได้ทั้ง เขียนโปรแกรม และ งานซ่อมครับ
การซ่อมคอมพิวเตอร์ ผู้หญิงไม่ใช้อุปสรรค ครับ
เรียนไปครับมันเป็นเลือกอีกทาง เพื่อให้สามารถประกอบอาชีพได้
ถึงจะยากลำบากแค่ไหนก็เอาวิชาไปให้ได้น่ะครับ
-
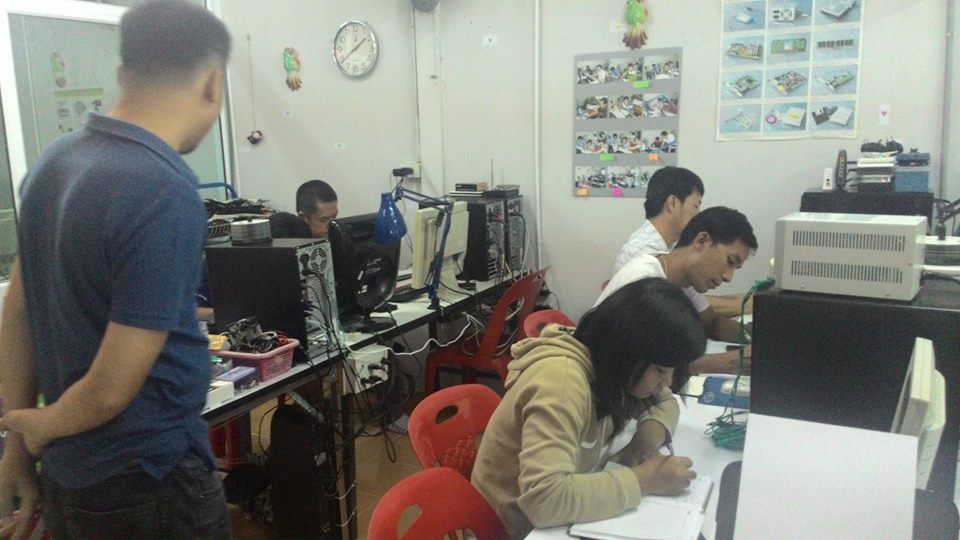
พื้นฐานไม่มีแต่ก็พยายาม ขอให้ได้ครับ เข้ามาต่อยอดได้ตลอดน่ะครับ
งานคอมพิวเตอร์ นั้นมันต้องได้ทั้ง software และ hardware
ตั้งใจเรียนครับเพื่ออณาคตของเราเอง อย่างน้อยก็เป็นทางเลือก
ตั้งใจเรียนมากๆ ขอให้เก่งๆครับ
-
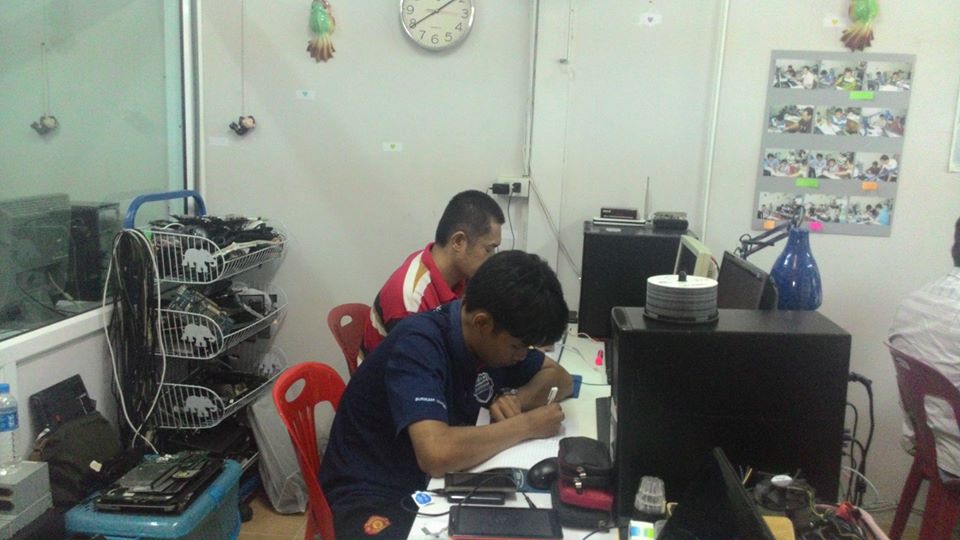
ถึงจะช้าแต่ตั้งใจก็ไม่มีปัญหาสำหรับการเรียน
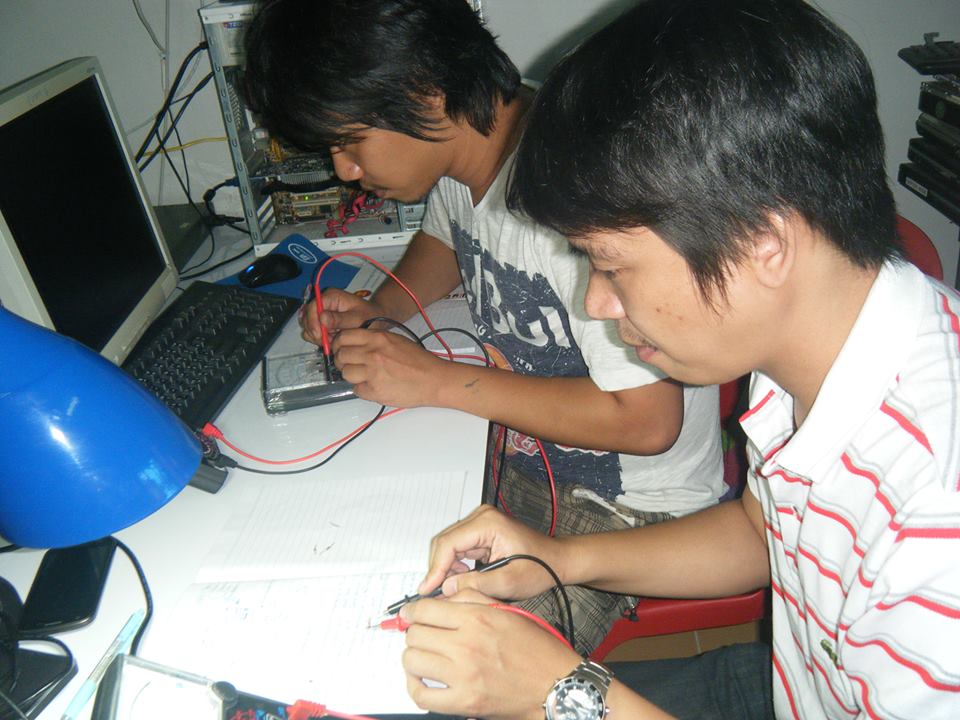
ทบทวนวิชาอิเล็กทรอนิกส์ ก่อนเข้าเรียนวงจรชั้นสูง
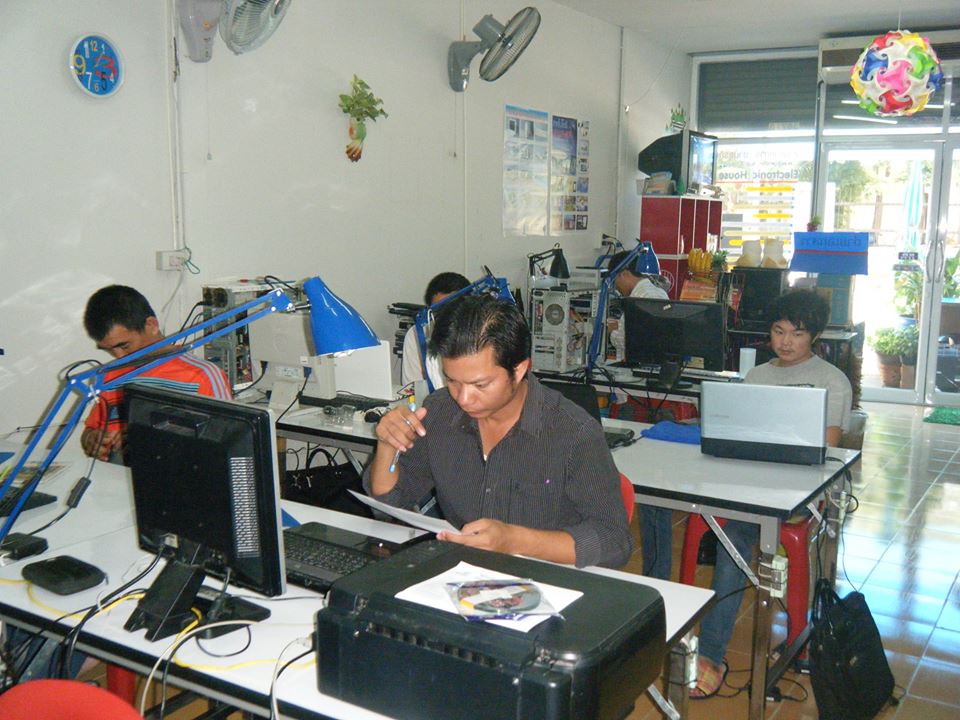
ผู้เข้าฝึกอบรมทุกคน ต่างก็ตั้งใจเรียน หน้าประทับใจมาก
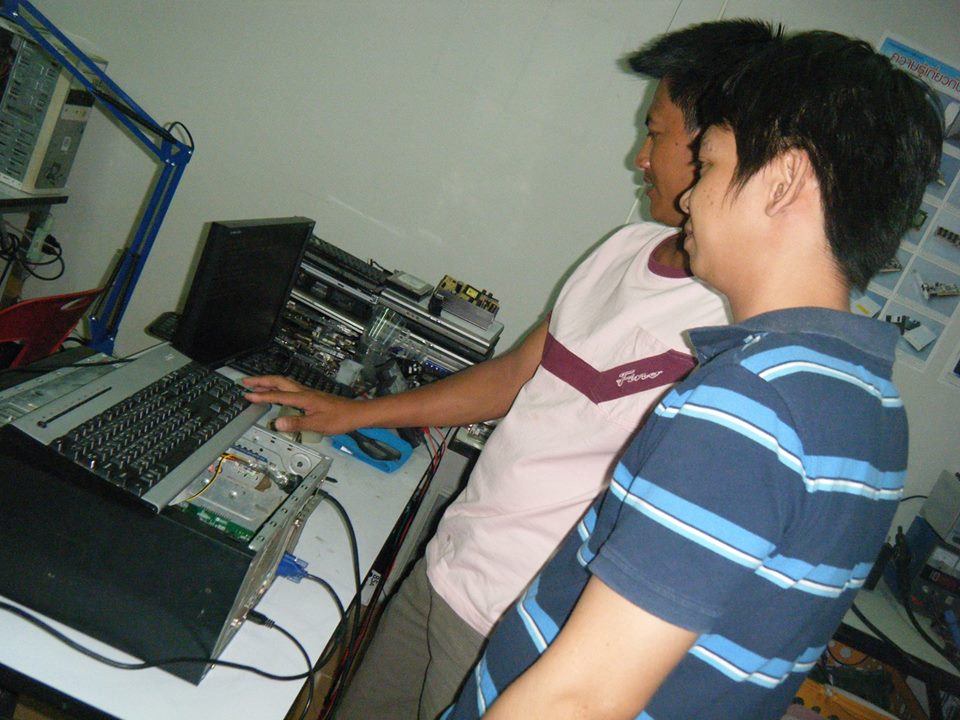
นักเรียนฝึกรับงานจากลูกค้า และ ซ่อมจริงๆ จากหน้าร้าน โดยผู้ฝึกอบรมคอยดูอยู่ห่างๆ
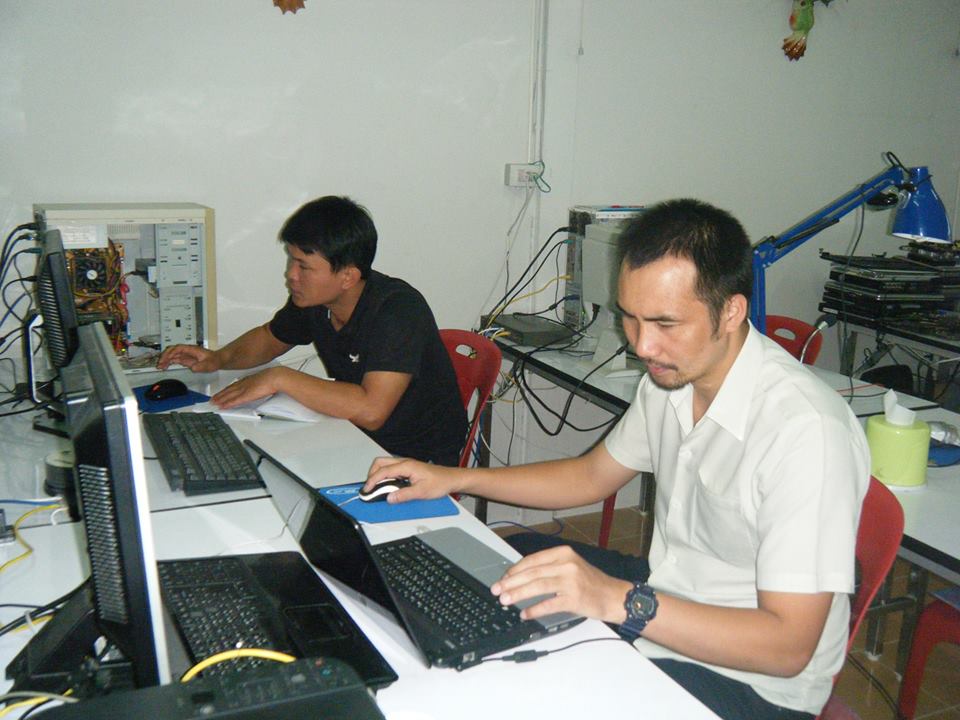
คอนเซ็ปต์ ของอิเล็กทรอนิกส์เฮ้าส์ นครราชสีมา
งานราชการ งานธุรกิจ หมดปัญหาเรื่อง ลิขสิทธิ์ ต้อง อิเล็กทรอนิกเฮ้าส์ นครราชสีมา แหล่งความรู้ใหม่ของประเทศไทย
# ร้านอิเล็กทรอนิกส์เฮ้าส์(Electronic House) เป็นร้านที่่เปิดขึ้นมาในเชิงธุรกิจ ในตัวเมือง จังหวัดนครราชสีมา โดยมีใบประกอบกิจการร้านค้าถูกต้องจากเทศบาลเมืองจังหวัดนครราชสีมา มีการเสียภาษีป้าย ภาษีรายได้ ภาษีโรงเรือน และมีใบอนุญาตรับซ่อมอุปกรณ์ อิเล็กทรอนิกส์ จากหน่วยงานภาครัฐถูกต้อง ตามกฏหมาย
# ร้านอิเล็กทรอนิกส์เฮ้าส์(Electronic House) นครราชสีมาได้รับนักศึกษาที่มีความสนใจเข้าฝึกประสบณ์การอาชีพ นักศึกษาจะต้องเข้าร่วมการทำกิจกรรมกับชมรม และฝึกประสบณ์การ ตามสาขาวิชาที่ได้เรียนมา โดยอิเล็กทรอนิกส์เฮ้าส์ นครราชสีมาจะเป็นผู้ดูแลการฝึกงานให้ และ ออกใบรับรองให้หลังจากที่จบการฝึกประสบณ์การ ตามระยะเวลาที่ทาง สถาบัน ได้กำหนดไว้